Setup Checklist for Meta Quest 3 and Unity
Here is a checklist for reference when setting up a new project in Unity for the Meta Quest 3 and installing the correct packages to get started.
Unity Project Setup
-
Create a new Unity project
-
Set the project to use 3D Core
-
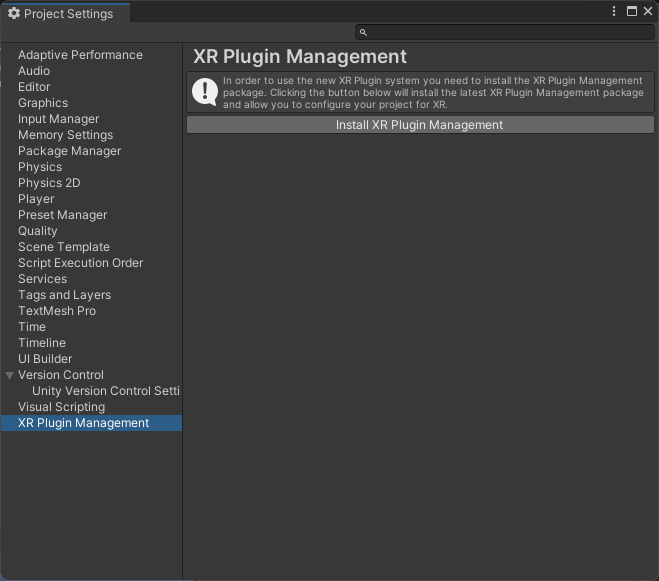
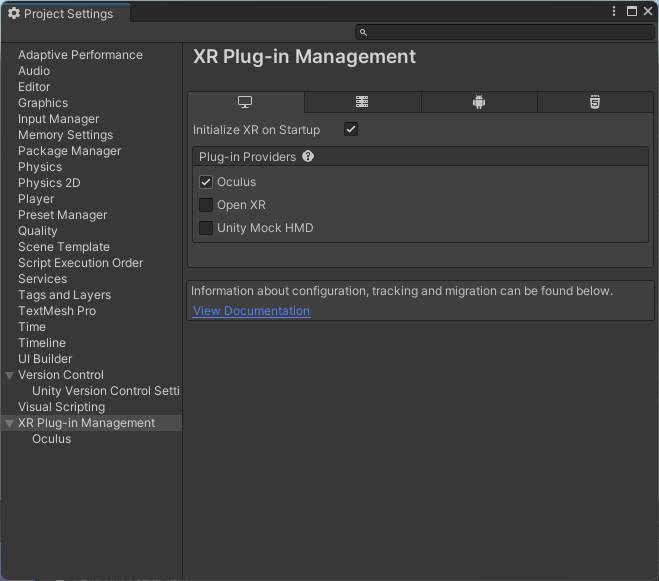
Go to Edit > Project Settings > Player and enable the XR Plugin Management for both Windows and Android by selecting the checkbox for Oculus.
-
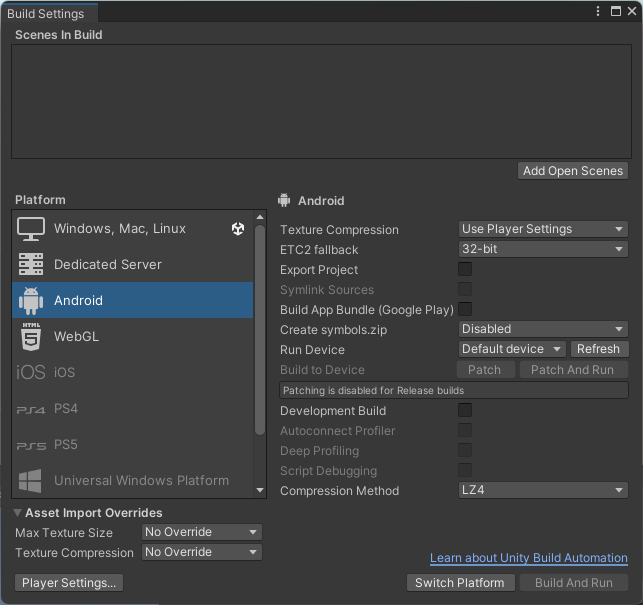
Go to File > Build Settings and select Android as the platform
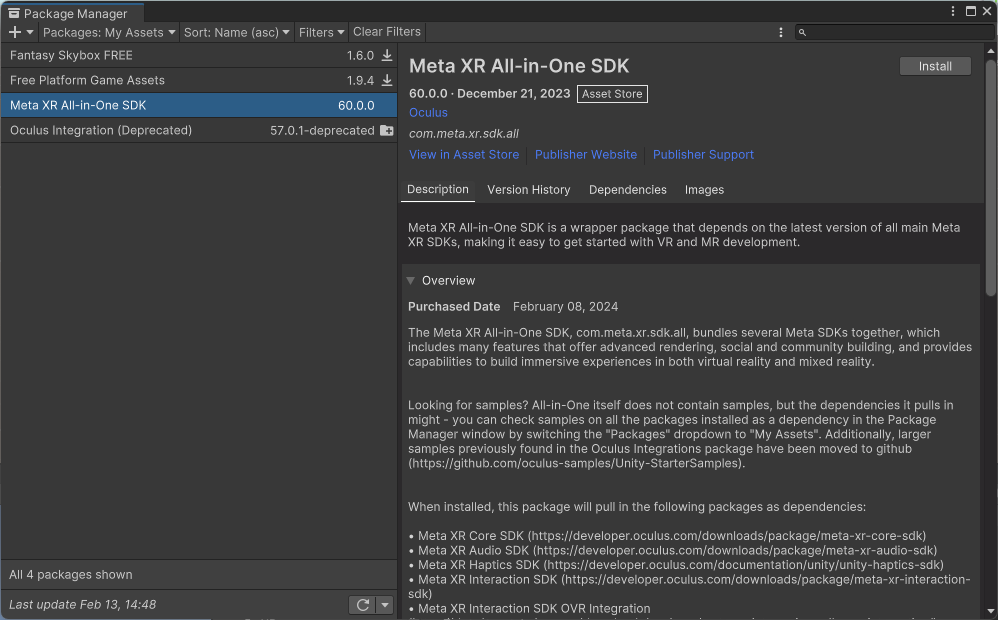
- Go to Window > Package Manager and install the following packages:
- Meta XR All-in-One Toolkit
-
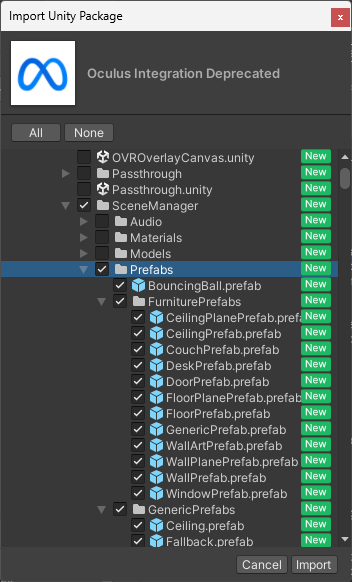
Optional: Install the Oculus Integration Prefabs for working with passthrough. These will help you to quickly get started with passthrough development. DON’T install the entire package, but select the prefabs that you need under: SampleFramework > Usage > SceneManager > Prefabs
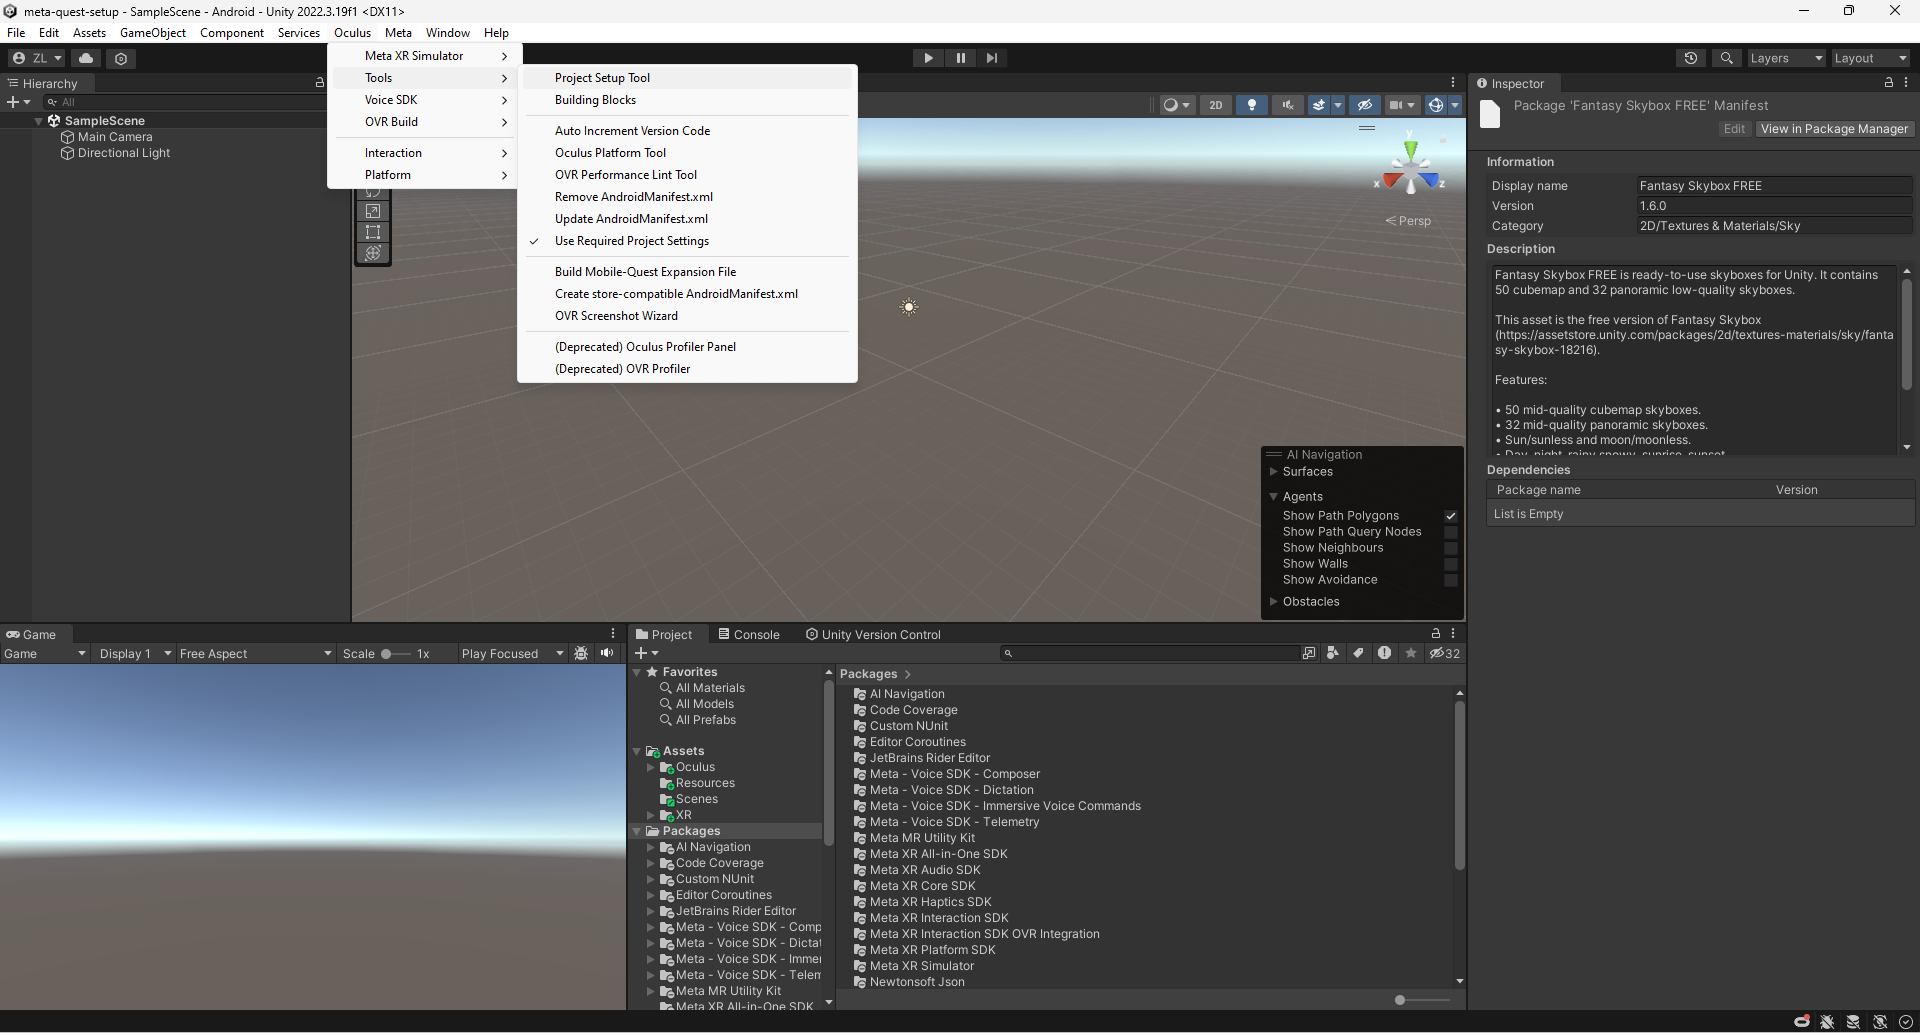
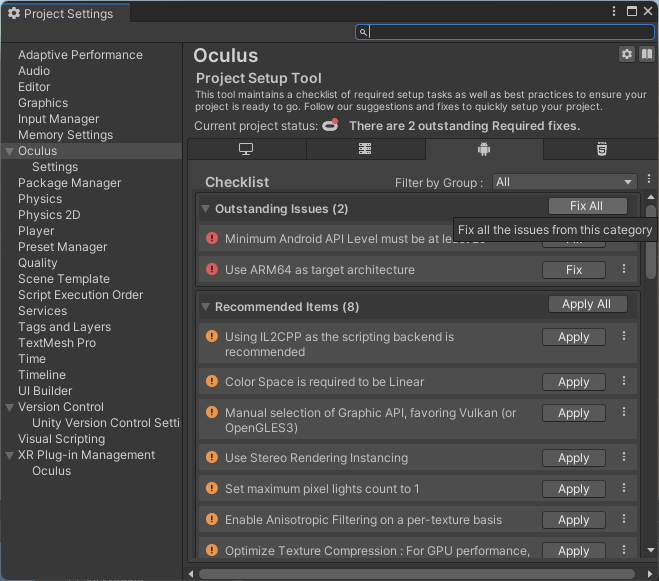
- Go to Oculus > Tools > Project Setup Tool and follow the instructions to set up your project for the Meta Quest 3 automatically. You will need to apply all of the fixes that the tool suggests.
That’s it for the basics of what you will need to get started with a new project in Unity for the Meta Quest 3. Once you have that, you can then begin creating your scenes and adding in the XR All-in-One Toolkit prefabs to get started with development.